-40%
Voyagers! Omni Replica Prop 3d model kit
$ 73.91
- Description
- Size Guide
Description
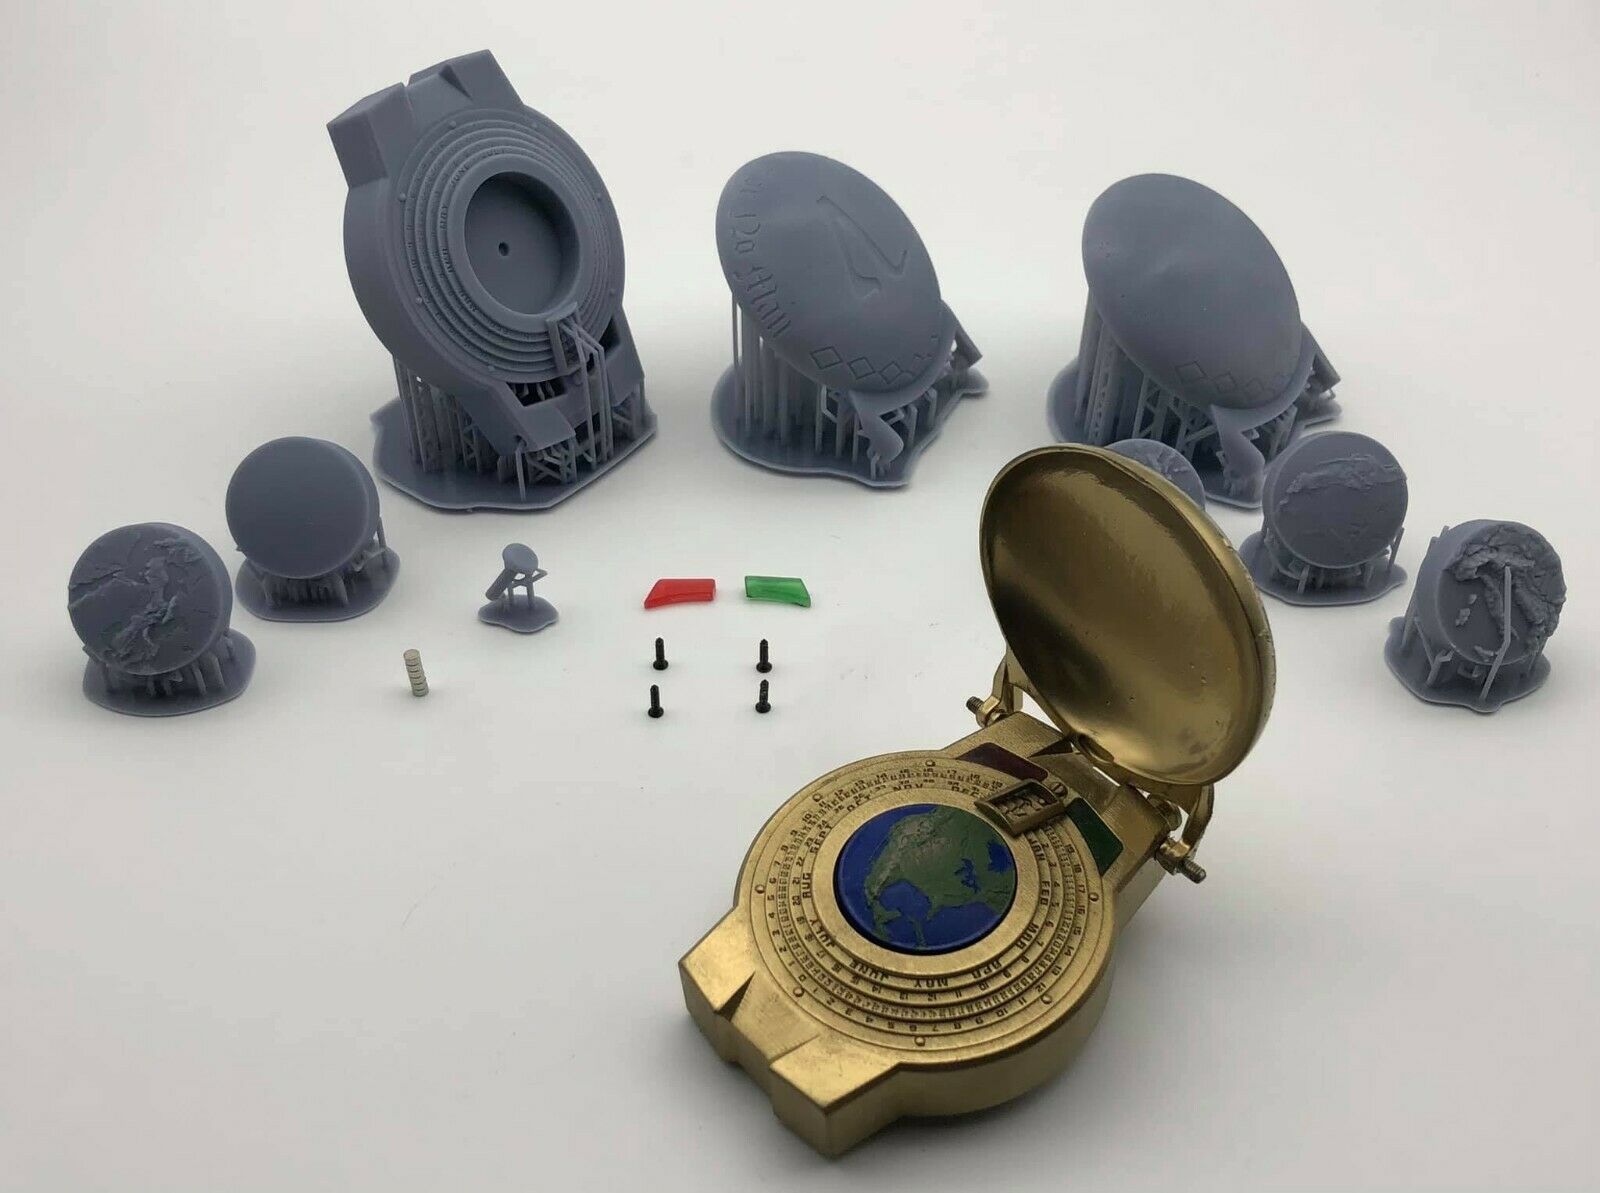
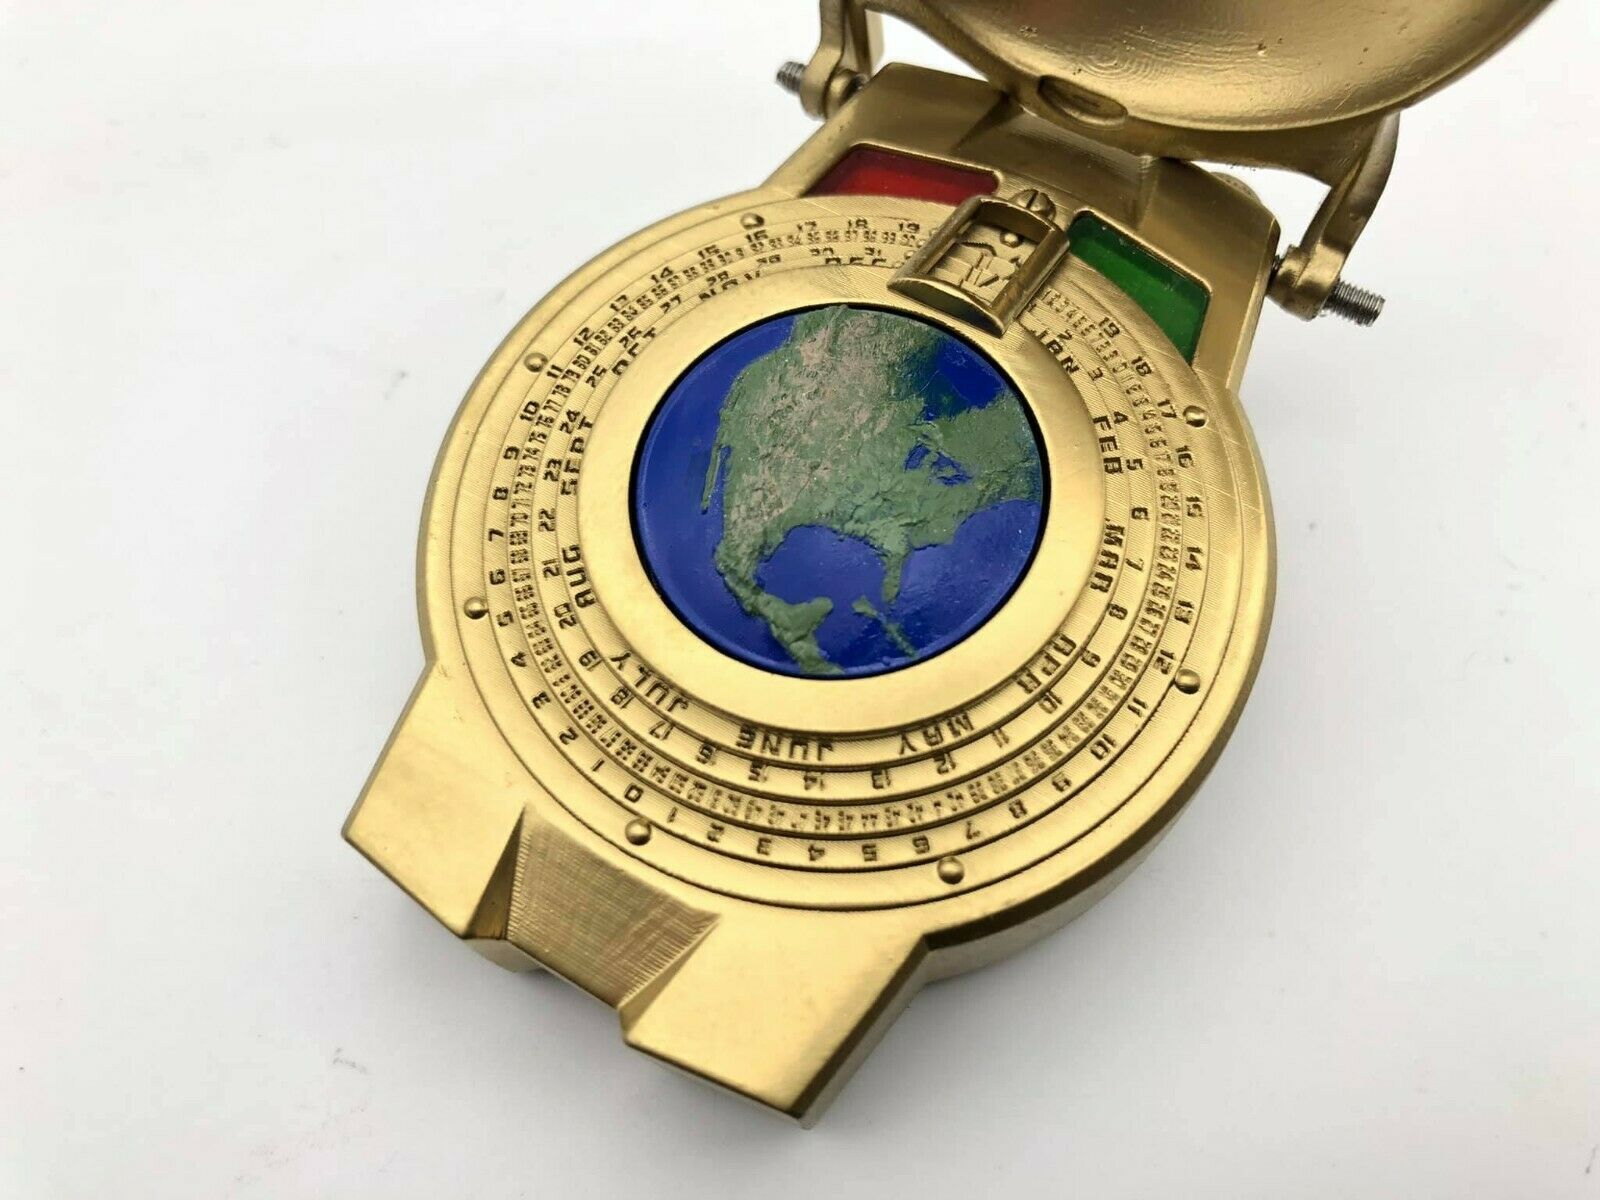
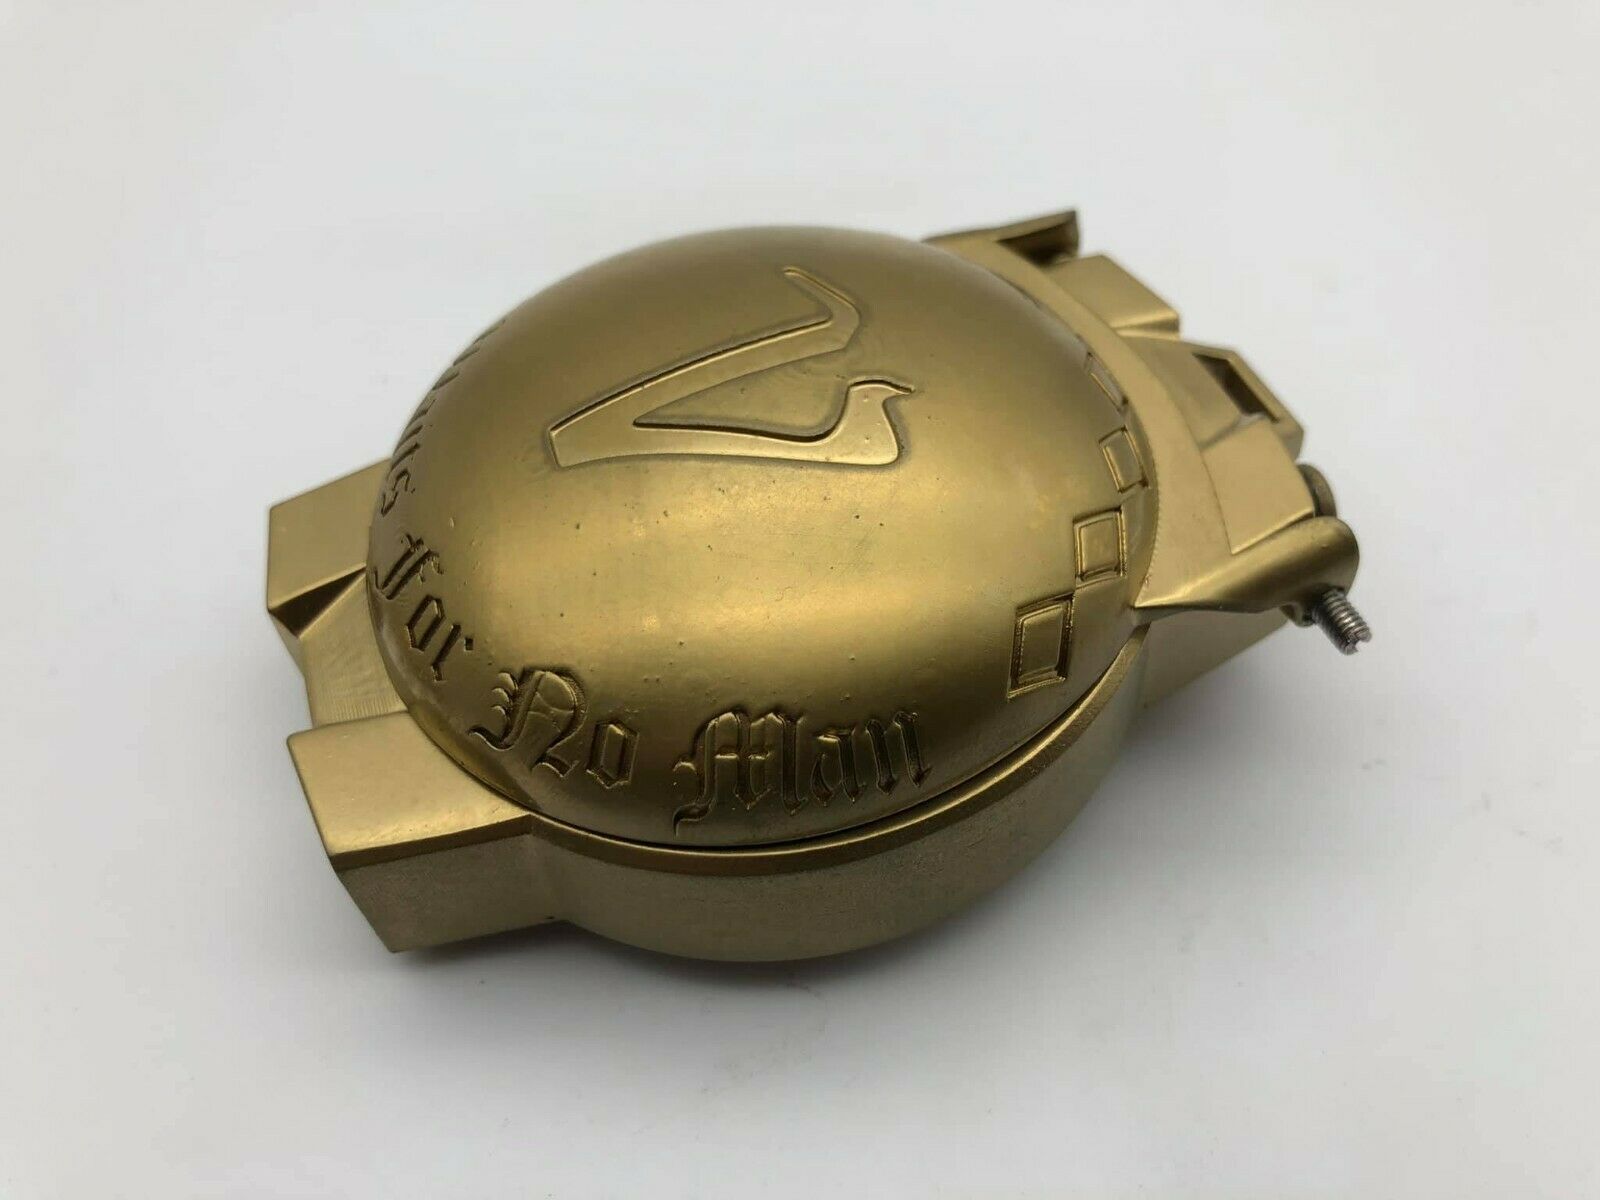
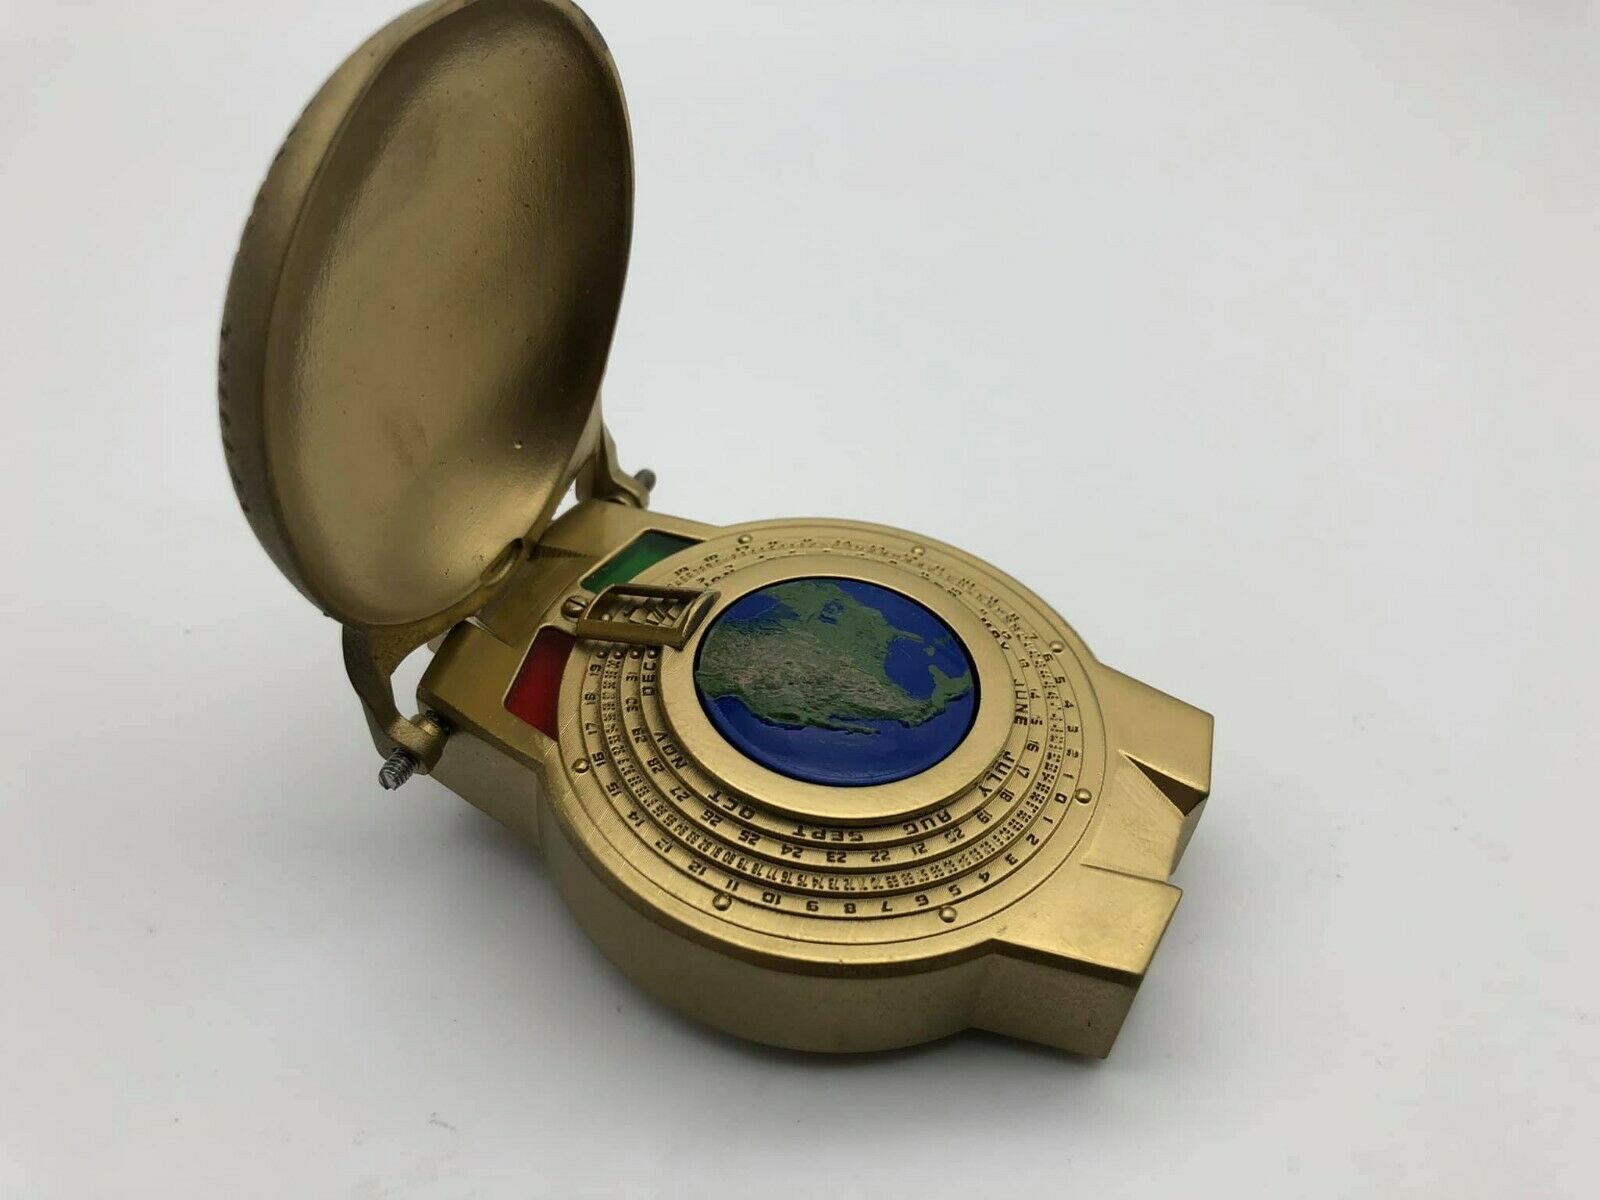
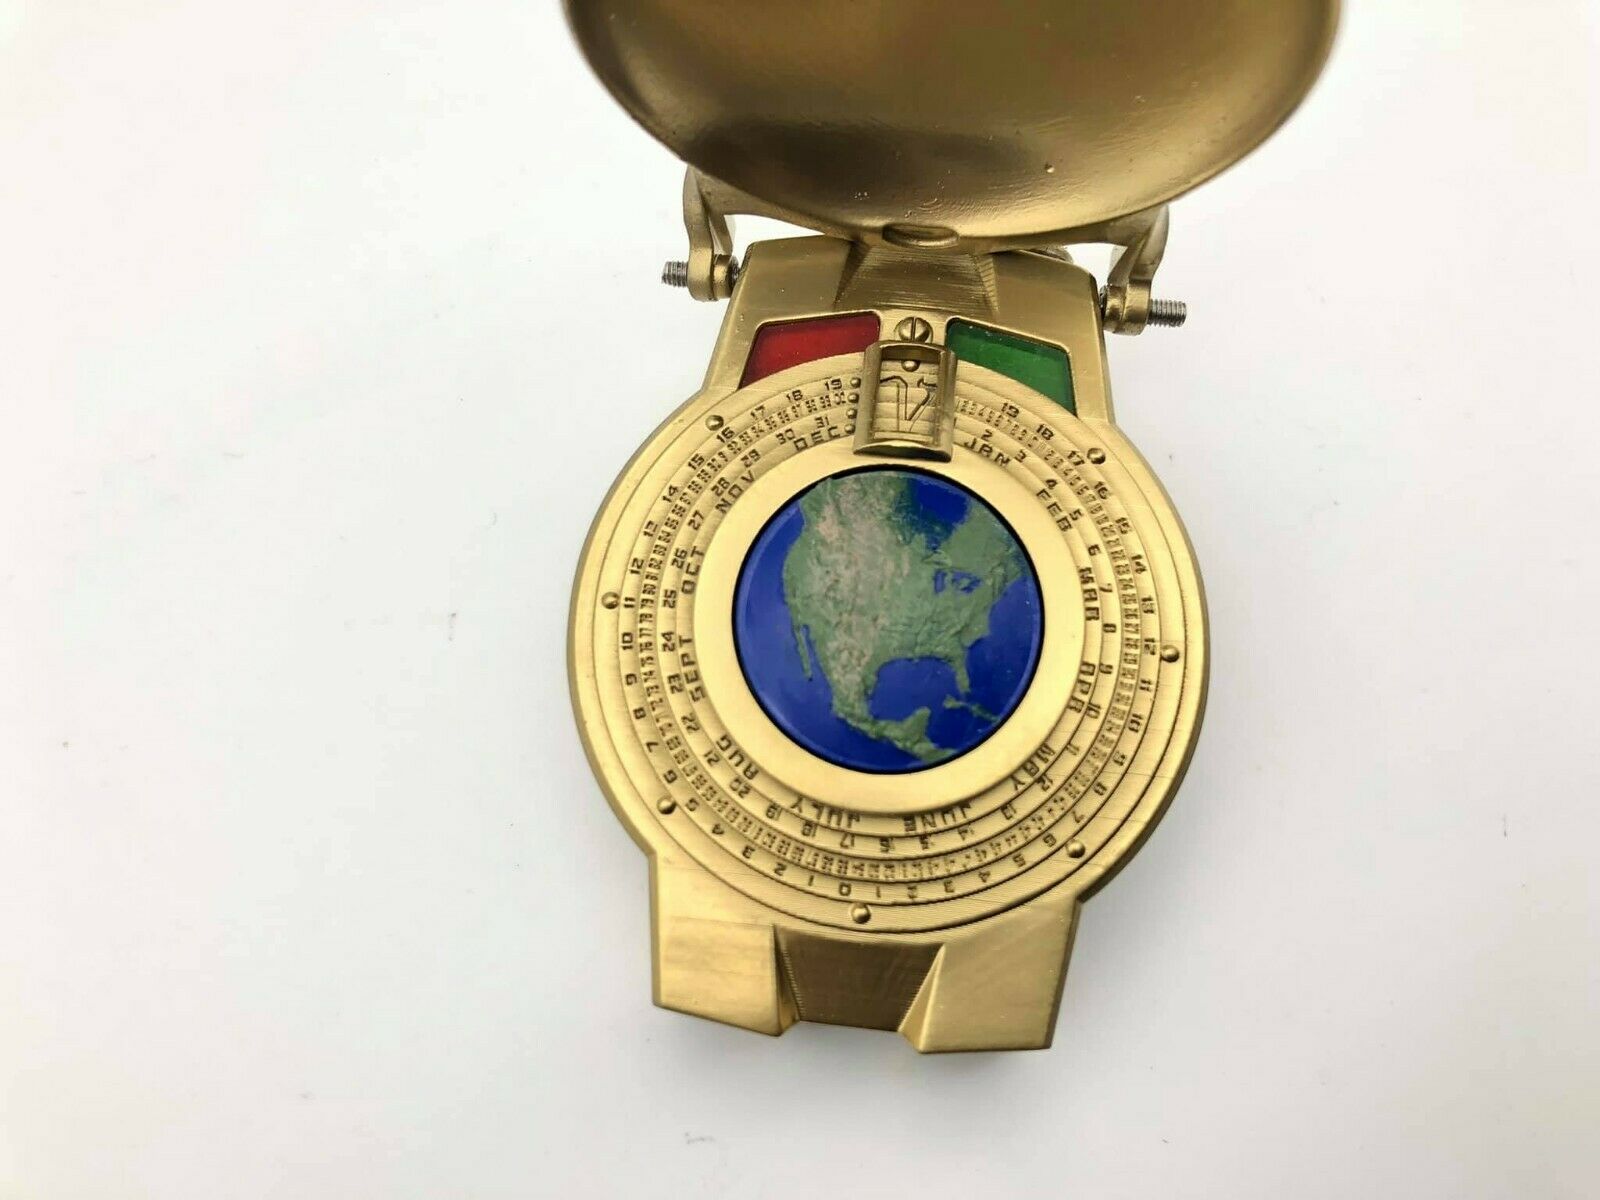
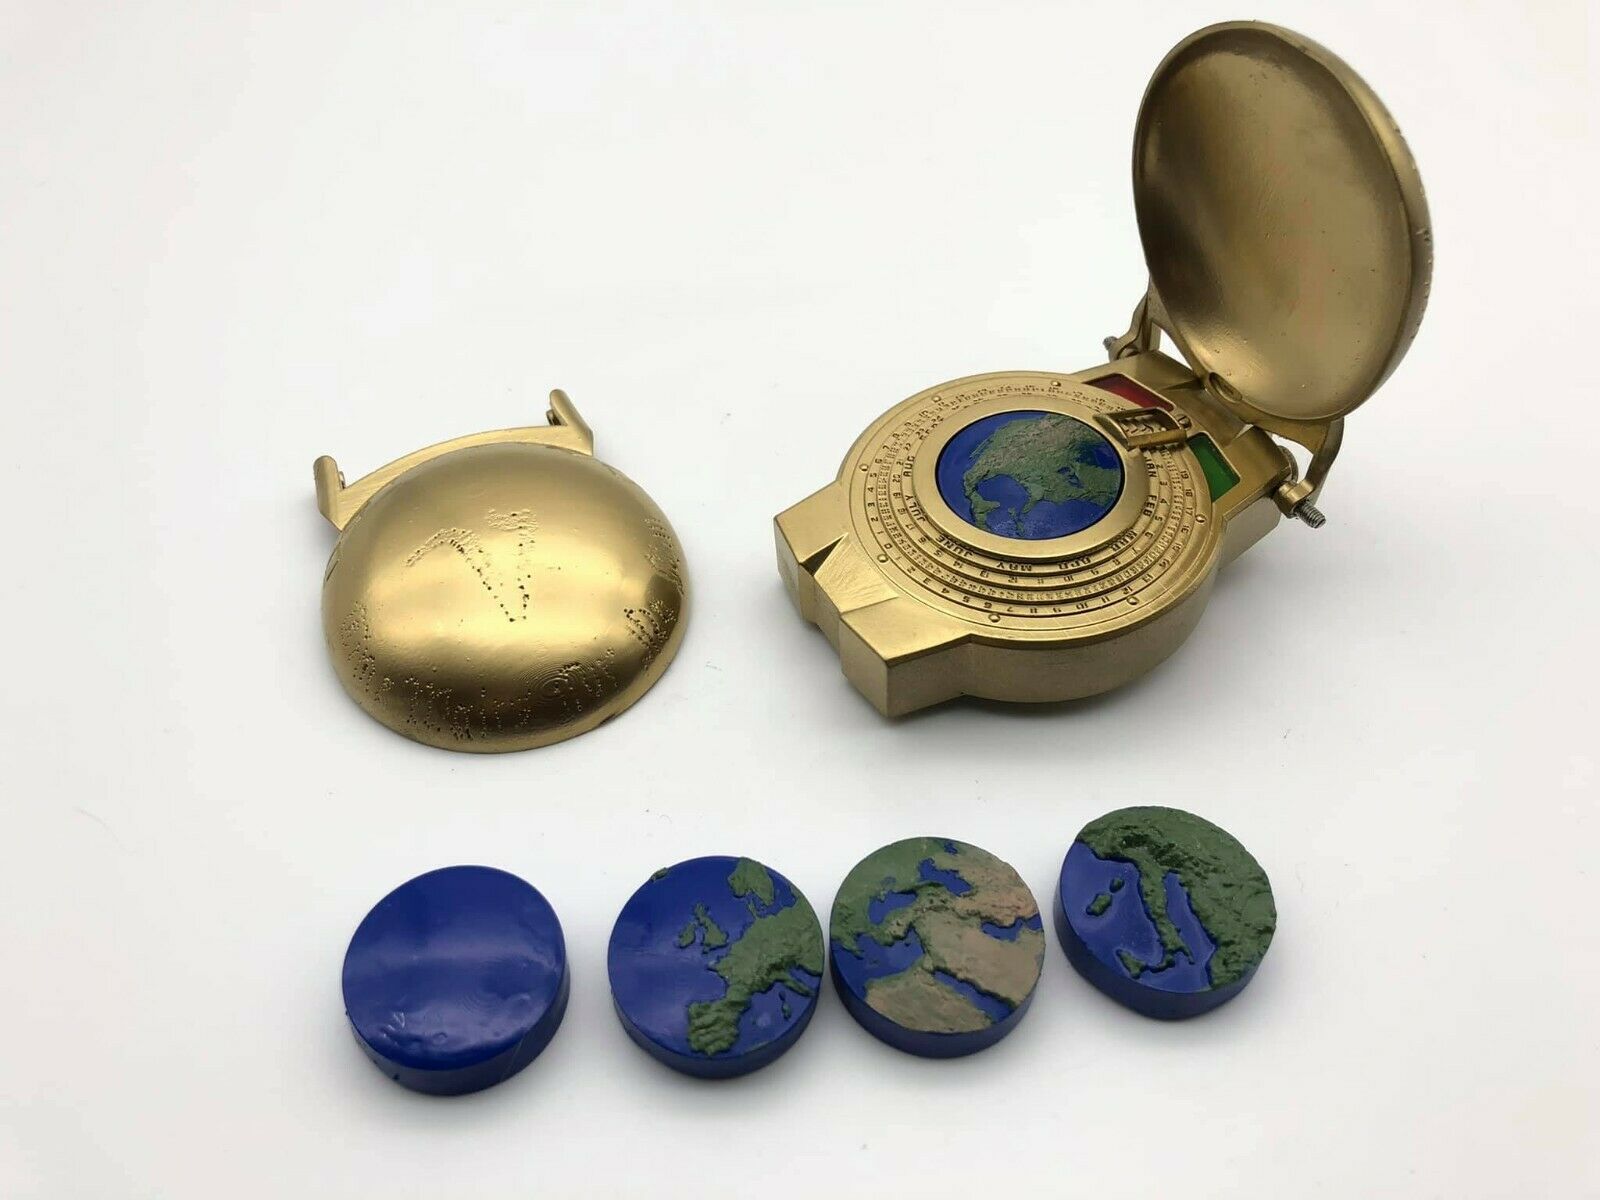
PLEASE NOTE THIS IS A KIT IT IS NOT ASSEMBLED AND PAINTED. THE PHOTOS OF THE FINISHED PROP ARE EXAMPLES ONLY!!!!!This is a resin printed omni. The lid opens and closes. The dials and plunger are not functional. There are no electronics. It comes unpainted.
3d printed models are made from resin, which is a plastic material. When it arrives to you it will need to be sanded, painted and assembled.
Instructions:
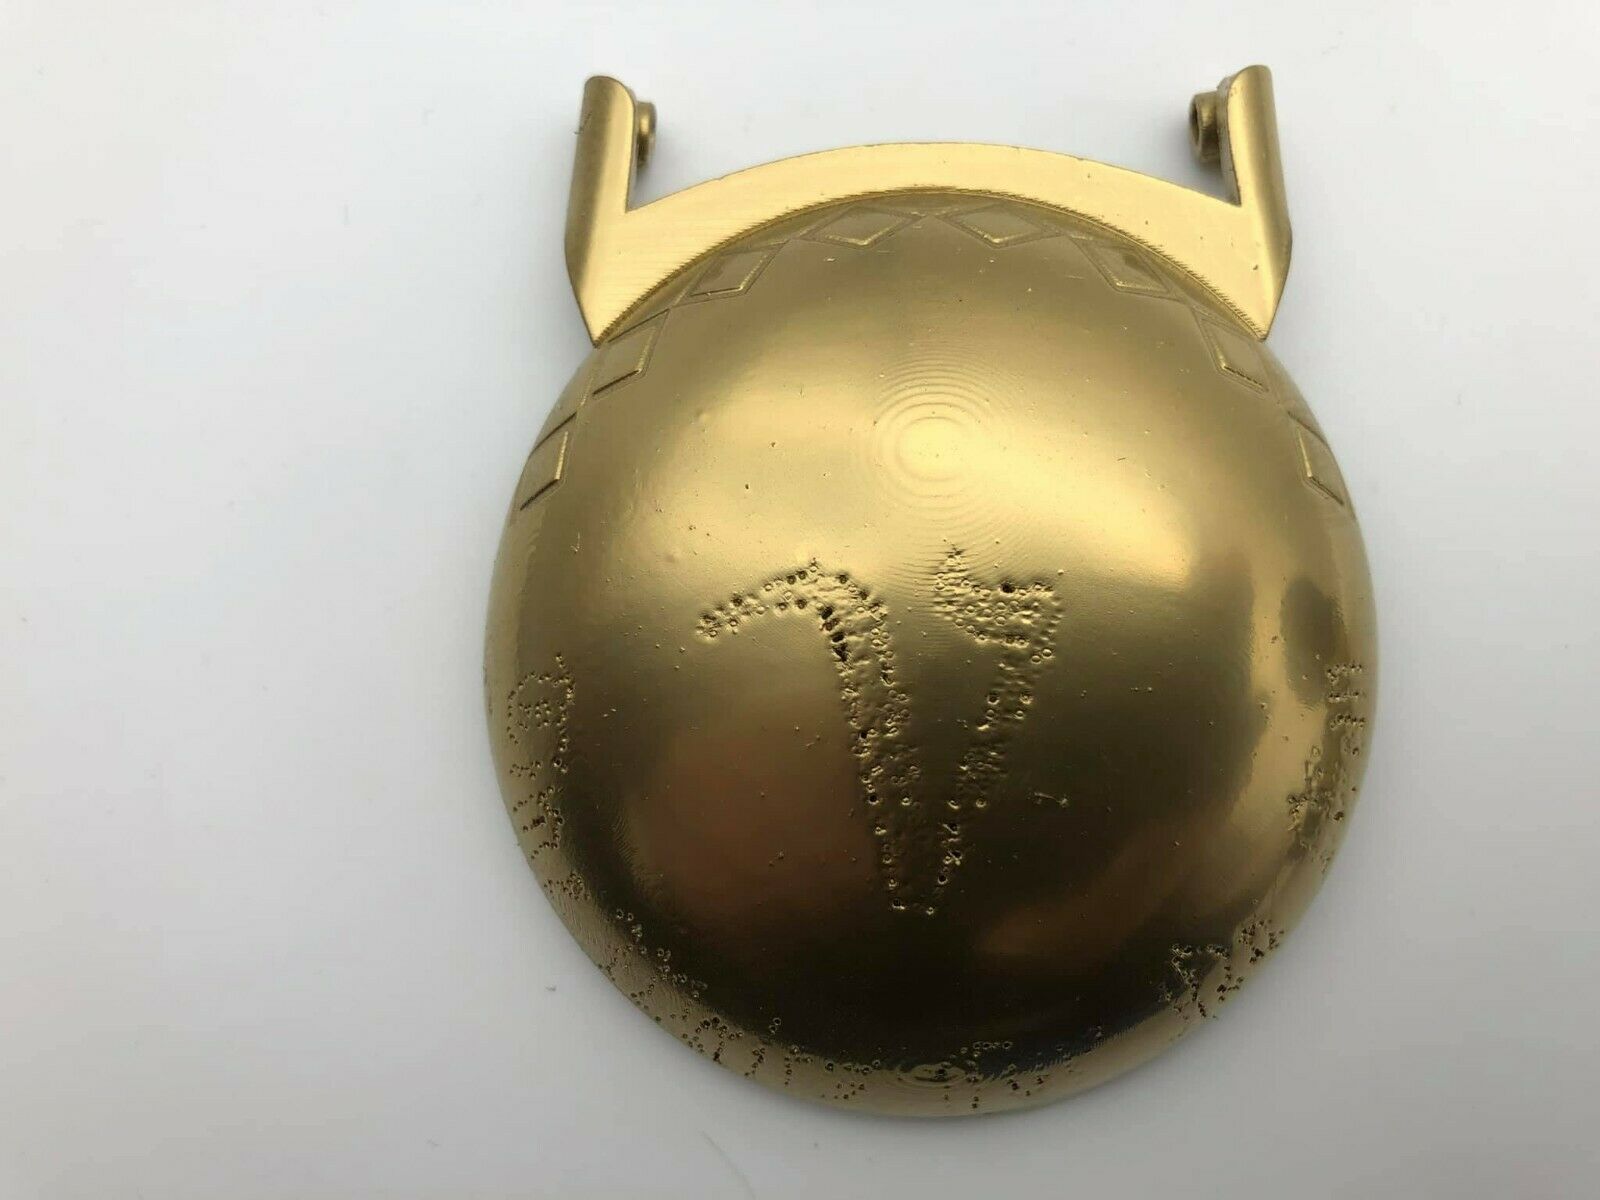
Sand surface of model parts lightly to flatten residual 3d supports and layer lines. Sanding in the underside of the lids in light circles will take time.
Buff surface with 00 Steel wool
Clean and dry surface with IPA or degreasing cleaner.
Apply a small drop of glue to the hole in the center of the globe housing and insert one magnet
Insert and tighten the 4 black screws halfway into the back of the body. This will allow for easier painting.
lightly spray gold paint the back of the body and underside of the lid. Make sure to not flood the paint. fan paint in light misting passes. Allow 20 min between coats to complete coverage. Do not handle for 24 hours to prevent smudging. Flip both parts over and paint the front side in the same light dusting pass method. Allow to fully cure 24 hours.
Lightly sand the edges then press carefully the red and green transparent color tiles in the indicator openings. The tiles must sit slightly lower than the body so the lid does not hit them when closing. Press them down gently, rocking them back and forth.
Place the lid on the body and line up the hinge holes. Use a small flat head screw driver to thread the lid hinge through the lid and body. The lid has holes for the lid hinge. It is best to grip the lid arm while turning the hinge bar. This will protect the lid arms from being over stress and possibly breaking.
Complete fastening the black screws into the back of the omni till flush.
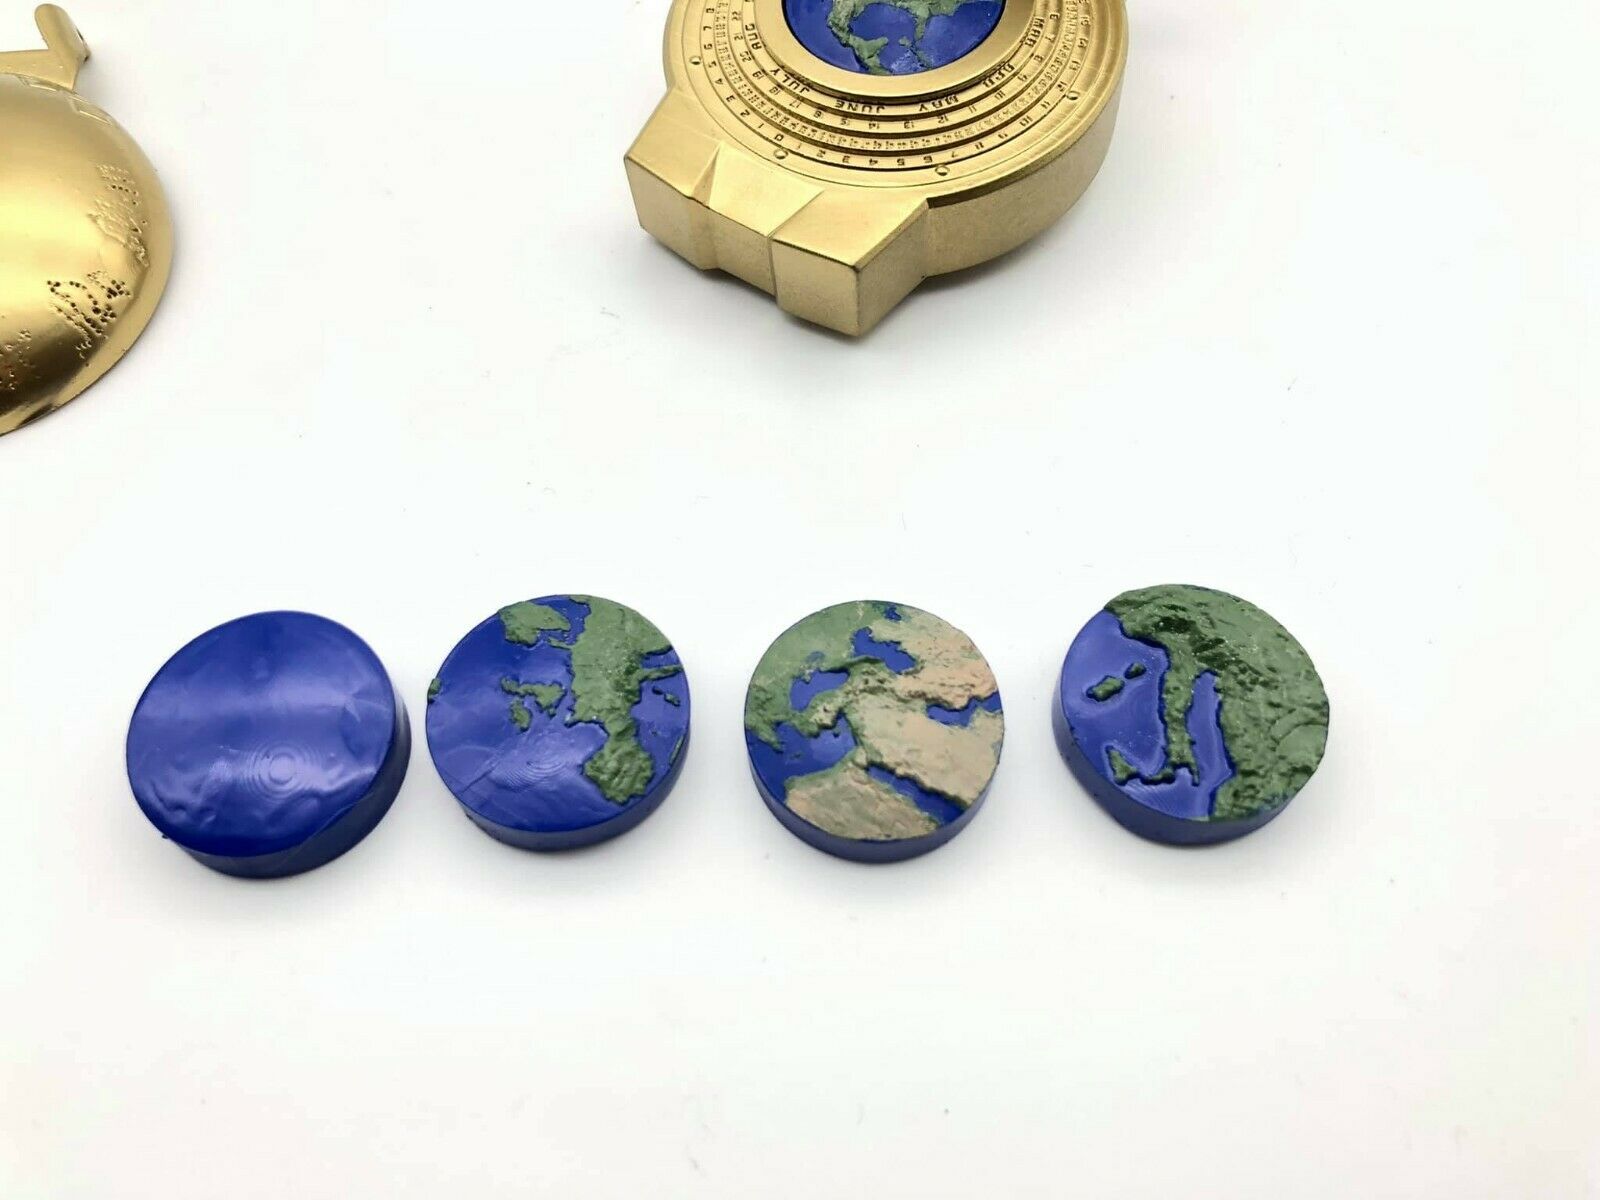
As done before, glue the remaining magnets in the globe inserts. Make sure to check the polarity of the magnets so they attract to the omni body and not repel.
Paint all the globe inserts blue for the oceans. Allow to dry.
With a very fine detail brush paint the continents as seen in the above photos. Do not flood the paint, follow the tutorial https://www.youtube.com/watch?v=XagRKO4hV9w
Use a small Philips head screwdriver to attach the stainless steel belt clip to the back.
